Santana water pump / agua de bomba

wp1This post will be in English and Spanish.

Escribo este en español y inglés.

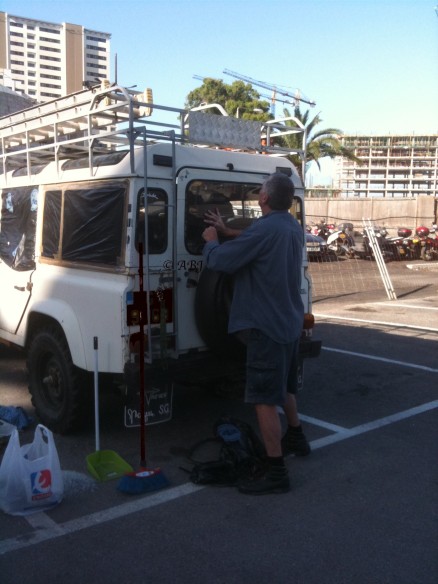
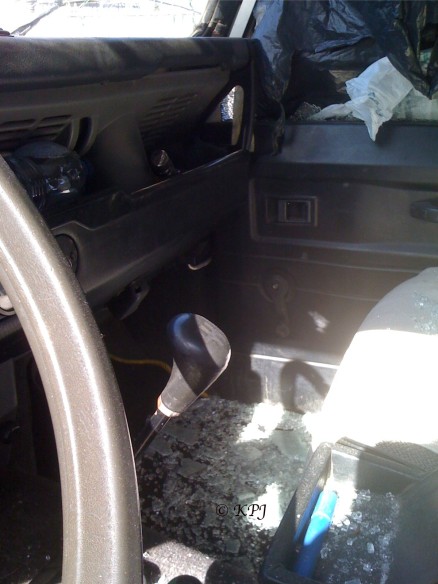
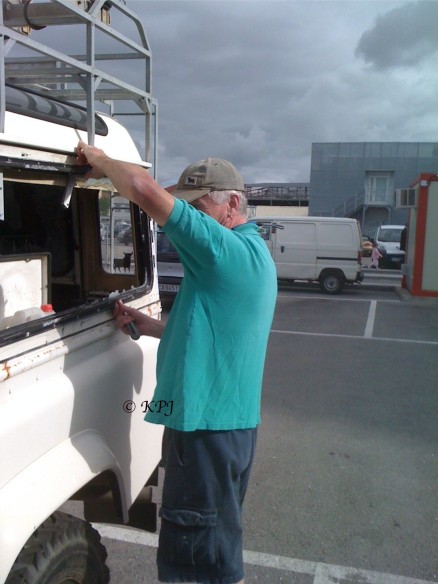
We booked the Santana in for MOT and the same day, after checking it over, there was suddenly water coming out of the front. Cancelled the MOT, and decided to investigate. It wasn’t going to pass.

Identified the water pump as the culprit, and a weekend or so later, with the help of good mate Sean, removed, front grill, housing and radiator, and then finally got to the water pump.

Tuvimos una cita par el ITV (MOT en inglés), y lo mismo día, después de mirar todo, hay agua saliendo desde el frente del coche. Cancelación del ITV, y decidimos a investigar. El coche no va a gañar el certificado.

El culpada era la agua de bomba. Un fin de semana luego, con ayuda de nuestro amigo Sean, quitamos el grille adelentera, cosas plasticas para guardar los manos atras del ventilador, y en fin, llegamos al agua de bomba.

Click any photo to magnify the image and start a slide show.

Haz ‘clic’ en algun foto para magnificar y commencar un ‘slideshow’.

Stripped the water pump from the engine block, and managed to snap a stud. That’s a separate issue.

Quitamos la bomba, y rompemos un tornillo largo. Hay otra cosa.

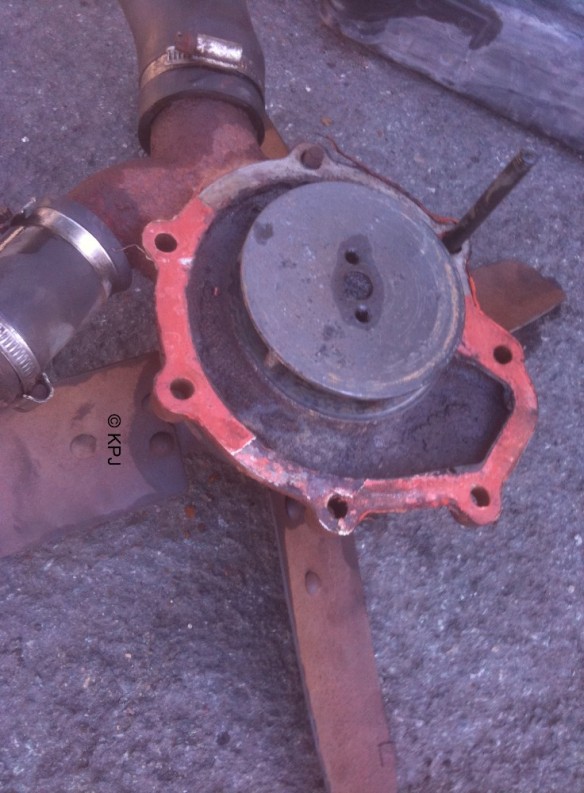
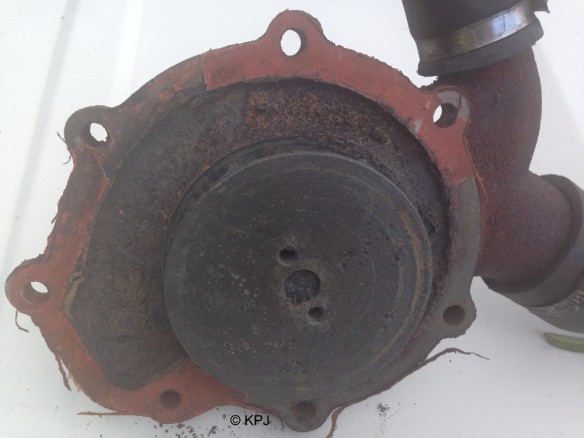
Here it is. But what is it? Where to buy??

Aquí esta la bomba. Pero, que es? A donde compra?

Water pump to engine block

Water pump to engine block

Water pump plus viscous fan

Water pump plus viscous fan

What a pane – lessons and costs

Here is the much promised post about lessons learned and costs when replacing the glass/doors, based on our mistakes.

Short and sweet:

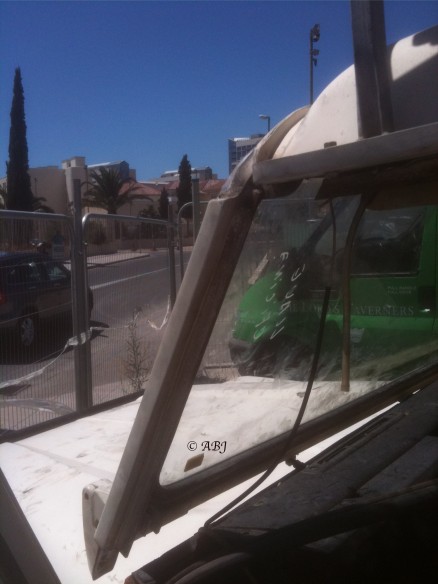
1) When you find a windscreen at the scrappy, take the frame as well. The glass is easy to get out of the frame of the donor vehicle, but it is a pain to put back in yours. And new windscreens are dear. As we know to our cost.

2) Don’t be in so much of a rush when you buy doors that you forget the striker plates. They do vary. Again .. as we know ….

3) With the rear sliding windows, make sure you line up the aluminium box sections correctly. At least we got that one right this time around.

4) Washing-up liquid helps to make working with the rubber seals easier.

5) Don’t rush. Sit down and think about what you need to do. We started off by pricing new glass from UK suppliers and the price was horrific. Don’t rush at the scrappies either. If you are reading this from Spain, the system is different – normally you have to wait for them to take off bits, but if you take your tools they will usually let you do it yourself. Use forums and ask for help. It doesn’t hurt, it doesn’t cost, and you may get some useful info. We did.

Costs:

The first lot of glass we got was from El Inglés at the Poligono Industrial in Málaga. The cost was €25 for each piece of glass regardless, ie the back door, windscreen, two front doors and two pieces each for the two rear ones. Eight, if anyone is counting.

And at San Miguel in Arcos de la Frontera, €40 for each middle door.

So far so good, €280. Until the windscreen went and it was another €300+ to get it done professionally in La Linea. More than the cost of all the others put together.

What a pane (5) – Cracked it!

Last but not least, the windscreen.

This was the one we really lacked confidence for. Anyways, usual story, knock out all broken glass. Remove window seal and get rid of rest of glass.

Lubricate both faces of seal. Refit to glass. Start to insert glass and seal, slowly and carefully into frame.

Fuck it up at last corner. Oh well, it was worth a try.

Plan B

Undo all bolts from roof and jack up with hi-lift jack. Place bits of wood at each side and then remove HLJ.

Take out frame. Take to glass firm in La Linea (Carglass). Return on appointed day – come tomorrow, mañana of course – which was Fiesta! For ever! so shop was shut. Slouch home miserably.

Wait for them to ring – which they did a few days later, asking where we were?

Go to collect glass. Ouch!! Cost more than everything else put together.

Refit. In reverse order. Luckily it hadn’t rained.

And there we are. All sorted. Give or take striker plates, and a few other door problems. But hey, looks a hell of a sight better than it did.

Costs, and lessons learned on final post to follow.

[Check out the new music on the sidebar. It’s relevant.]

Had a bit of a musical fit with this one too – every caption sings a song.

Who shot the sheriff?

Heart of glass?

Broken down angel

Highway to hell

Spanners – from the album ‘A spanner in the works’

Broken down

Led Zep – The Rover

Jumping jack flash

The Jack

The very best – hit the road, Jack

Wild Rover

Breaking glass

Back on the road again

What a pane (2) – in the rear

We hadn’t been unlucky enough to have to do this one before. The hardest bit here was getting the small rubber back in – the equivalent of the one that covers the pop rivets on the side window.

Procedure

Knock out as much broken glass as possible.
Take out the small rubber from the centre of the big rubber.
Remove big rubber from door and clean out all remaining glass.
Lubricate the face (that fits into the opening) of the big rubber with washing-up liquid and refit to door.
Then lubricate the other face that will take the glass.
Next, fit glass. Very carefully. In our case, using a blunt flat-head screwdriver (ie British rather than American) and a putty knife.
The final part of this is fitting the small rubber. It is a good idea to remove your spare wheel if it is on the back door. Sadly this wasn’t possible as one of our mates had borrowed the relevant socket.
Lubricate this as well, and with patience and the same screwdriver, it eventually fits in.

Back window before

Interior of rear door:

Glass out

Rubber seal in

Exterior of rear door:

Glass out

Rubber seal in

Pushing new glass gently into place

Getting distracted

And that last piece of rubber

Using the screwdriver carefully to push the rubber into place

New glass and rubbers finally in

And then, time to do a bit of cleaning out too.

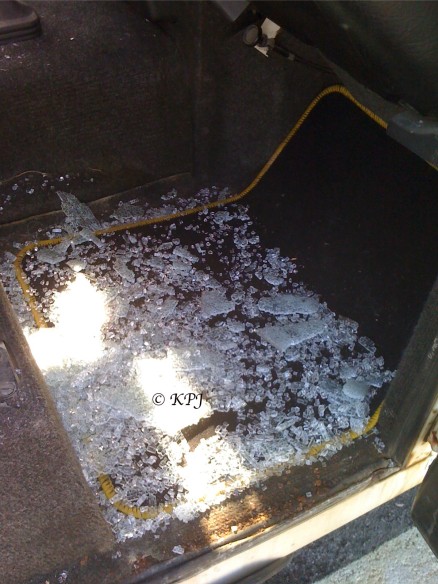
Glass gets absolutely everywhere 😦

What a pane (1) – offside!

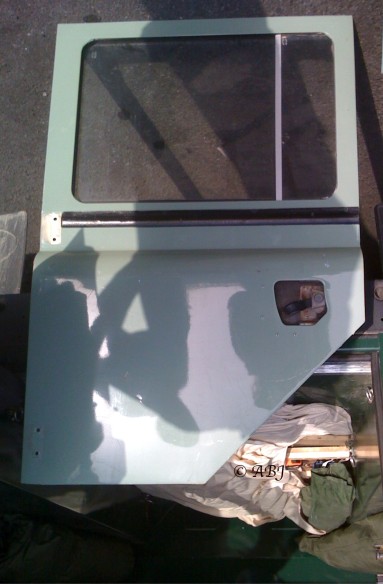
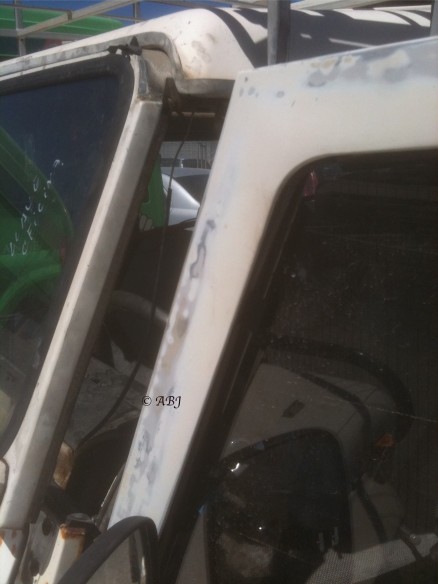
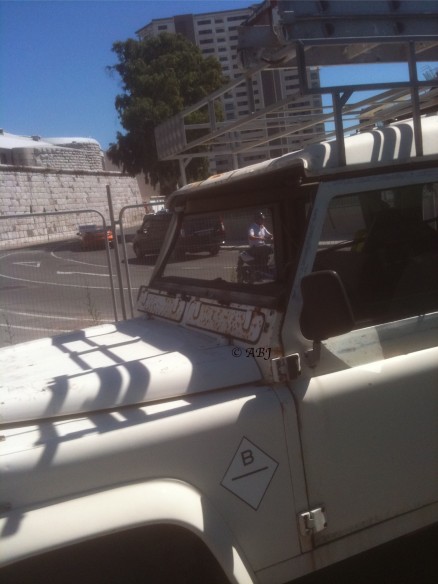
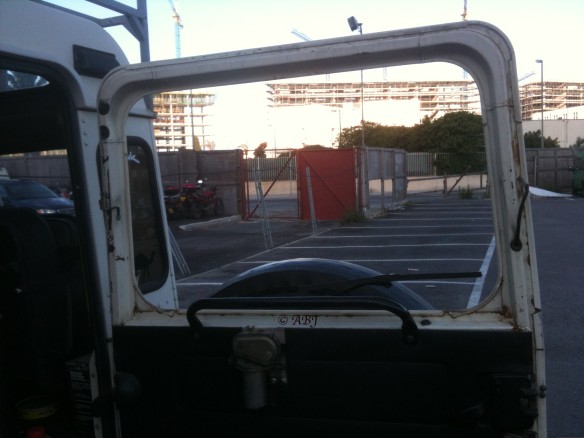
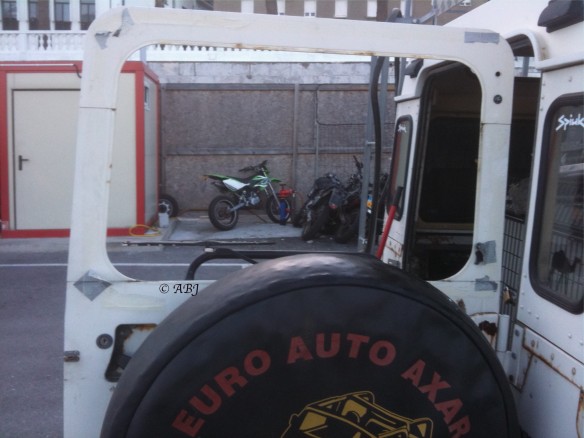
Last year, some unpleasant person, or persons unknown, smashed the windows in our Santana. Not just one, but virtually all of them, including the windscreen.

There is nowhere to source them in Gib, and the cost of getting new glass or doors shipped from the UK was prohibitive.

If the intention was to put us off the road, then it wasn’t a bad start.

Still, with the help of friends, we managed to locate some promising scrapyards in Andalucía, and equipped with all the necessary bits of glass/doors, started to put it back together.

First the rear window. Either the vandals were getting tired at this point, or someone had appeared and they didn’t want to be caught in the act, but only the left-hand side one was smashed. The one we had replaced the previous year in fact. Link here. Oh well, it seemed the easiest place to start as at least we had experience of it.

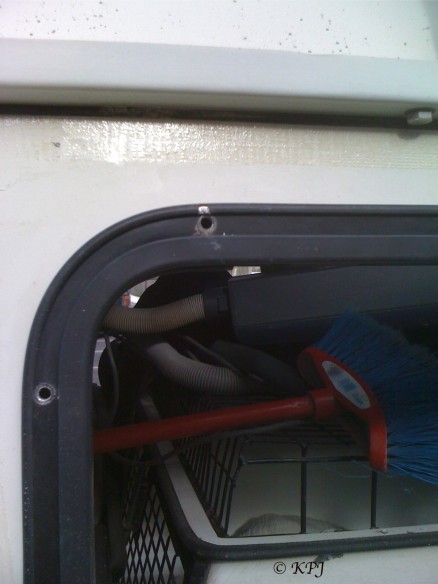
When we did this window the last time, we (ie he) didn’t get the small aluminium box sections in the correct place. There are three of them at both the top and bottom, and they have tiny holes that need to align with the trim. The good news is, that if you confuse them when you take them off, you can work out what goes where because of the holes.

There is also one on each side, but that isn’t such a problem in terms of confusion, but each one is a pig to get back in as the trim is very tight on the sides.

As before, it helps to have two pairs of hands, a) for the pop-riveting and b) for pulling the side trim around to fix the small box sections back inside.

So here we go …..

Well and truly smashed

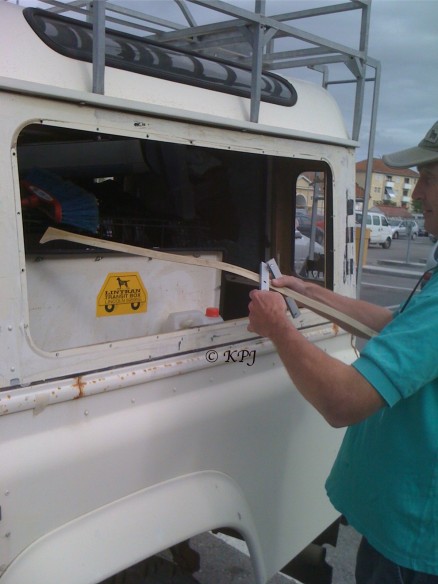
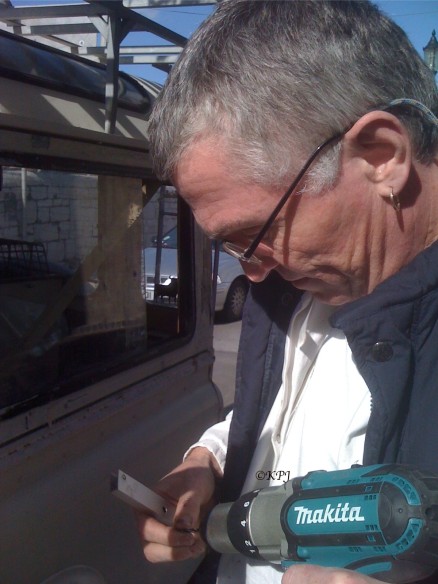
Drilling out the pop rivets

Rivets out, next step frame

And frame out

Taking out the trim and box sections

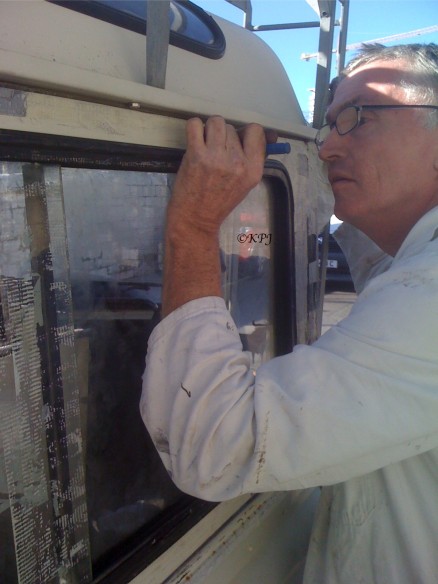
Putting the frame back in

Gently pushing it back into place

This slideshow requires JavaScript.

The last step was to refit the rubber over the pop rivets, for pix of that, check out the previous post in the link above.

We’ve got quite good at this, and at least we did a better job this time having learned our lessons from before.

Desguaces (scrapyards) in Andalucia

It’s always good to waste time, I mean travel around usefully, looking for scrapyards in Andalucía.

So here, for anyone who wants to visit them, is a list of some of the ones we have visited in the search for Land Rover spares in the provincias of Málaga and Cadiz.

So, first up Málaga province.

A quick google and some queries on a very helpful Spanish forum – 4x4malaga revealed the main contenders to be at:

Valle Niza
Malaga Industrial Estate (Poligono Guadalhorce)
Estepona

There a couple of others at Cartama/Coin but we haven’t visited those.

At Valle Niza you can find Discos and Freelanders but no Defenders/Series/Santanas.

‘Possible en Málaga’ we were told.

So, off to Málaga.

The industrial estate is well-signed and easily found. For anyone who doesn’t know, it is basically east of the airport, off the ringroad/autovia. If you don’t do Spanish look for Poligono Industrial, or sometimes PI with a factory type image.

There are loads of addreses for scrapyards on Carretera Azucarera- Guadalhorce. This is one of the main arterial roads of the estate, it runs south to north on the far west of it. Easy eh?

Well yes, if there hadn’t been road works. I gazed at every single plot we passed on our side of the road and not a single one was a scrapyard. Got to the end of the estate and found ourselves at an oil refinery. Nope. Not what we wanted.

Argument ensued between navigator and pilot about inadequacy of navigator. Navigator insisted she was correct and threw maps, directions, addresses and anything near to hand at pilot.

Plan B. Ask someone. In fact Plan B in Spain should always be Plan A.

Navigator well sulky by now so refused to ask.

Reluctantly agreed to drop window so pilot could ask a worky wandering up.

‘Where’s the scrapyard?’ or ‘Donde esta el desguace?’

‘Just down there on the right mate, where the trees are.’ or ‘Muy circa a la derecha amigo, donde estan los arboles.’

Or words to that effect.

So just for the record, the navigator was correct. Anyway, we parked up and decided to go through the scrapyards systematically from top to bottom. Actually the navigator decided that, as she was feeling very smug and assertive.

What neither of us thought of, was marking down which scrapyard had what vehicle, which, when there are 12 or so scrapyards all looking the same, is not good. At all. By the time we had got to the end we had seen four Land Rovers, and could only remember two of the places where we had seen them, and one of those only had a basket case.

Moving on swiftly down the coast to – Estepona. El Padron del Rio. Note – google has one listed on the poligono. It does not exist. The one at Estepona is best approached from the east, and is just after KM 160 on the N340, take a right when you see some bath store or something like that. No Land Rovers when we went though.

Cadiz province

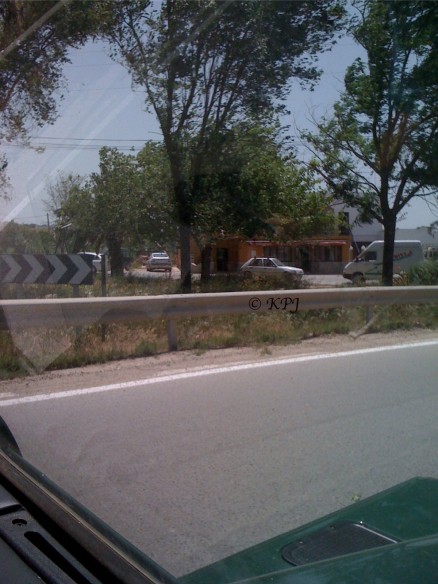
Next up, scrapyard in Jimena. Hmm, what scrapyard in Jimena? Couldn’t find it on the internet search so asked at our local garage in Gib. Found a mechanic who lived there. No scrapyard in Jimena – but – there was a good one at Arcos. Quick change of plan and shot off up to Arcos to Desguace San Miguel.

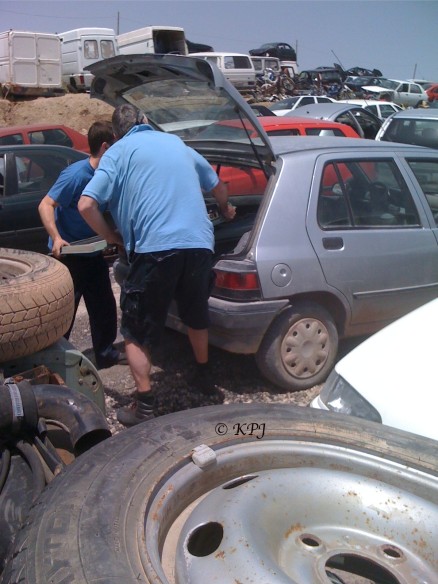
First one, incidentally, that we have found here that allegedly opens on Sat morning – or so it says on their website. I would advise ringing before turning up on Sabado. It was huge. And it did have four Land Rovers, in various states of dismantling. There was no vehicle newer than early 80s.

Arcos is very pretty though and so is the surrounding countryside. And the venta at the bottom of the road does tapas with excellent olives and drinks for a very fair price.
So:

Lesson numero uno. Take pen and paper and definitely write down the name of the scrapyard and what you have seen at that one. And what parts it has that are useful.

Lesson numero dos. People say that in Spanish scrapyards you can not take off your own bits. Oh yes you can, so take your tools so that you are prepared if you are allowed to do so. Ask nicely, tell them you have your llaves and all your herramientos. If you are really lucky, someone might help you – although they might ask for a tip.

Lesson numero tres. Ask to look at the vehicle you are interested in. In some places you can wander off if they like the look of you. In others you have to join a queue. So far, experience says, queuing to see a basket case isn’t worth the time. Whatever, do not wait thinking people will ask you what you want. Join the queue if there is one, but otherwise, approach people and ask. You will always, in the end, need to speak to the yard supervisor. S/he is god and will tell you if they have the vehicle and, if you like the bits, they will give you a price.

Lesson numero cuatro. If you like what you have seen and you can afford it, accept the price you are given. We saw a most entertaining argument – in Arabic – between a Moroccan wanting a tyre cheaper than the given price, and the Moroccan scrapyard worker telling him he couldn’t have it for any less. Just pay, we all have to live.

Lesson numero cinco. They shut between 2pm and 4pm. Arrive in time to do what you want. Or for them to do what you want – which will take even longer. Come back at 4pm or – come back next week.

Lesson numero seis. When someone tells you there is a scrapyard some miles away, do not assume it is correct unless you get exact details or co-ords. But on the other hand, if you are looking for a desguace, always ask a) someone who appears to live locally b) a road worker c) any garage mechanic d) at a petrol station e) a truck driver.

Lesson numero siete. Make sure you know all the relevant words. There are three words for scrapyards – to my knowledge – in Spanish. Desgauce, chatarra, and cementario de coches. You may need to try all those out before they understand your accent.

Suerte!!

List of scrapyards and addresses here:

Valle Niza

Auto Desguace Valle Niza
Ctra. Cádiz, Km.3, Vélez-Málaga Málaga
952115853

Malaga

Auto-Desguace Hnos. Gonzalez S.L.
Ctra. Azucarera-Intelhorce, 13-B 29004 Malaga
952173704

Autodesguace García, S.L.
Ctra. Azucarera-Intelhorce, nº 13 A 29004 Málaga
952171753

Autodesguace Inter S.L.
Carretera Azucarera-Intelhorce Nave 11 B 29004 Málaga
952173593

Auto Despiece del Automóvil Hermanos Martín
Ctra. Azucarera-Intelhorce, P.I. Guadalorce Málaga
952173875

Auto Desguace Hermanos Vargas
Ctra. Azucarera-Intelhorce, P.I. Guadalorce Málaga
952173452

Auto Desguace La Alberca
Ctra. Azucarera-Intelhorce, P.I. Guadalorce Málaga
952173160

Scrap Yard – Auto Desguace El Inglés
Ctra. Azucarera-Intelhorce, Nave 7 Málaga
952241551

Auto Desguace Avilés
Ctra. Azucarera-Intelhorce Málaga
952173423

Estepona

Desguace Rio del Padrón
Ctra. Cádiz-Málaga, Km. 159 Estepona
952804096

Arcos de la Frontera

Ctra.Arcos-San José del Valle, Km 2
956 70 20 71 – 856 02 31 21 – 956 23 16 61

Thanks again to everyone on 4×4 Málaga for all their help in finding desguaces. Much appreciated.
MOT in Gib

This is an easy one.
£20 for the test. Valid for two years. Only catch? This is for Gib residents and people with Gib businesses, ie registered in Gibraltar, only.

So no, you can’t bring your GB reg coche for an updated MOT when you have been living in Spain or anywhere else and out of the UK for longer than your MOT lasts. Nor can you buy some cheap Brit vehicle that has been kicking around on the Iberian peninsula for years and suddenly think you will get an MOT in Gib. Let me repeat, this is a non-starter.

So back to the beginning. If you have a Gib registered vehicle that you are legally entitled to drive – this is how to get your MOT roadworthy certificate renewed.

Go to the MOT station in Eastern Beach at the far end of Devil’s Tower Road.

Take your log book, last MOT cert, and ID to be on the safe side.

Pay your money in advance and you will then get an appointment.

Note, you can not do this over the telephone. You have to turn up in person to make an appointment, with the papers.

If you already have a certificate you will probably get a helpful reminder that your MOT is due to run out, we did.

On the due date of the test, you turn up and you are allocated to Lane 1 or Lane 2 depending on your vehicle.

Sadly we failed, but not on anything mechanical.

We had a broken window that had been shattered one Friday night, some time ago, by someone.

After a while we sourced the glass and put it in. All ready to go again in a few weeks, and it went straight through the test. Good to go for another two years.

Total time to replace glass – three and a half hours.

1) take out the complete frame with the existing good piece of glass

2) split frame

3) insert new glass

4) replace grub screws that hold frame together

5) Haynes would say – complete in reverse order – in other words, lift the frame with complete glass and insert into panel. Note two pairs of hands are helpful at this point.

6) Pop rivet the frame into the panel. On the Santana, some of this also needed two pairs of hands because it was very fiddly.

7) Refit rubber seal.

And – off to the MOT station for new certificate.


This slideshow requires JavaScript.

Compressor attachment for tyres

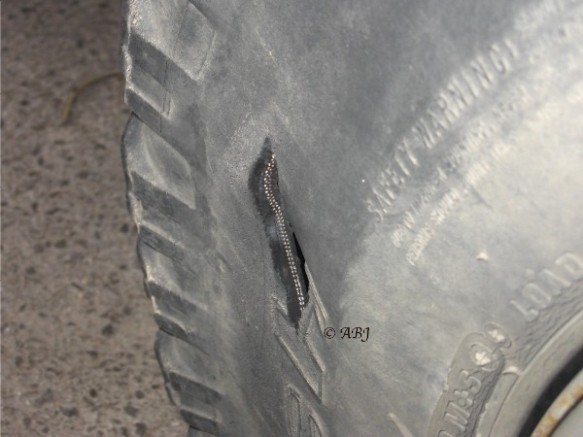
Slashed tyres are not good. Ever.

So, off we went back to Spain to pick up some spares, and en route, a stop at Leroy Merlin for a nice attachment for the compressor to inflate tyres.

22€ for the full kit. Better than legs falling off using the bicycle pump.

Slashed tyre

And another view

Had a go at the spare too

Nice shiny new attachment for the compressor

One of many spare tyres – BF Goodrich Trac Edge

Toll roads – Costa del Sol

And the good news is, the toll prices have gone down with the end of the summer holidays.

Mountains on the way up at the rest area between Estepona and Marbella.

It wasn’t all cloud though – blue sky looking towards the coast.

Dog.

So new prices:
Fuengirola – Marbella: €3.75
Marbella – Estepona: €2.55

(although I could have sworn on the way up it was €4.15 between Marbella and Fuengirola).

Finally we decided to try some tapas at Los Altos de Marbella service station/rest area/restaurant, narrowly beating a coachload of customers to the counter. Phew.

1 racion of pimientos asados
1 racion of ensalada de patatas (incl egg and olives)
1 portion of pizza
bread included
1 coke
1 18.75cl bottle of Rioja

Total: €14.60

Pizza.

Pimientos.

Potato salad.

And yes, the helpings were bigger originally. They were well demolished by the time photos were taken…

Compressor – Clarke Hunter 50

Acquired from Freecycle. It wasn’t working. It seemed like an electrical fault. First thing was to check the plug and the fuse.Someone had put a Spanish plug on it, so I disconnected that and put a three-pin plug on it. As the compressor is designed for live, neutral and earth it wouldn’t work without the earth wire.Still didn’t work, but at least it had current – it didn’t before the plug was changed.

Removed the cover of the interruptor switch, put on a test screwdriver, and it fired into life. The noise frightened the life out of me and I nearly went through the store backwards. I hadn’t expected the motor to work.

The next step was to look for the parts to put it right. As I was busy working, I decided to let the shop fit the parts as well and left the compressor with them. They gave it an overhaul, changed the oil, fitted the new switch and I bought a new flexi air-line.

Total cost – approx £120 for a machine worth around £600 – or more in Gibraltar. Half of the cost was labour, and the parts costs were for an air filter element, switch, back entry gauge, nipples, a plastic cover and a gland.

Oh and if anyone is wondering what on earth this has to do with Land Rovers… respray?